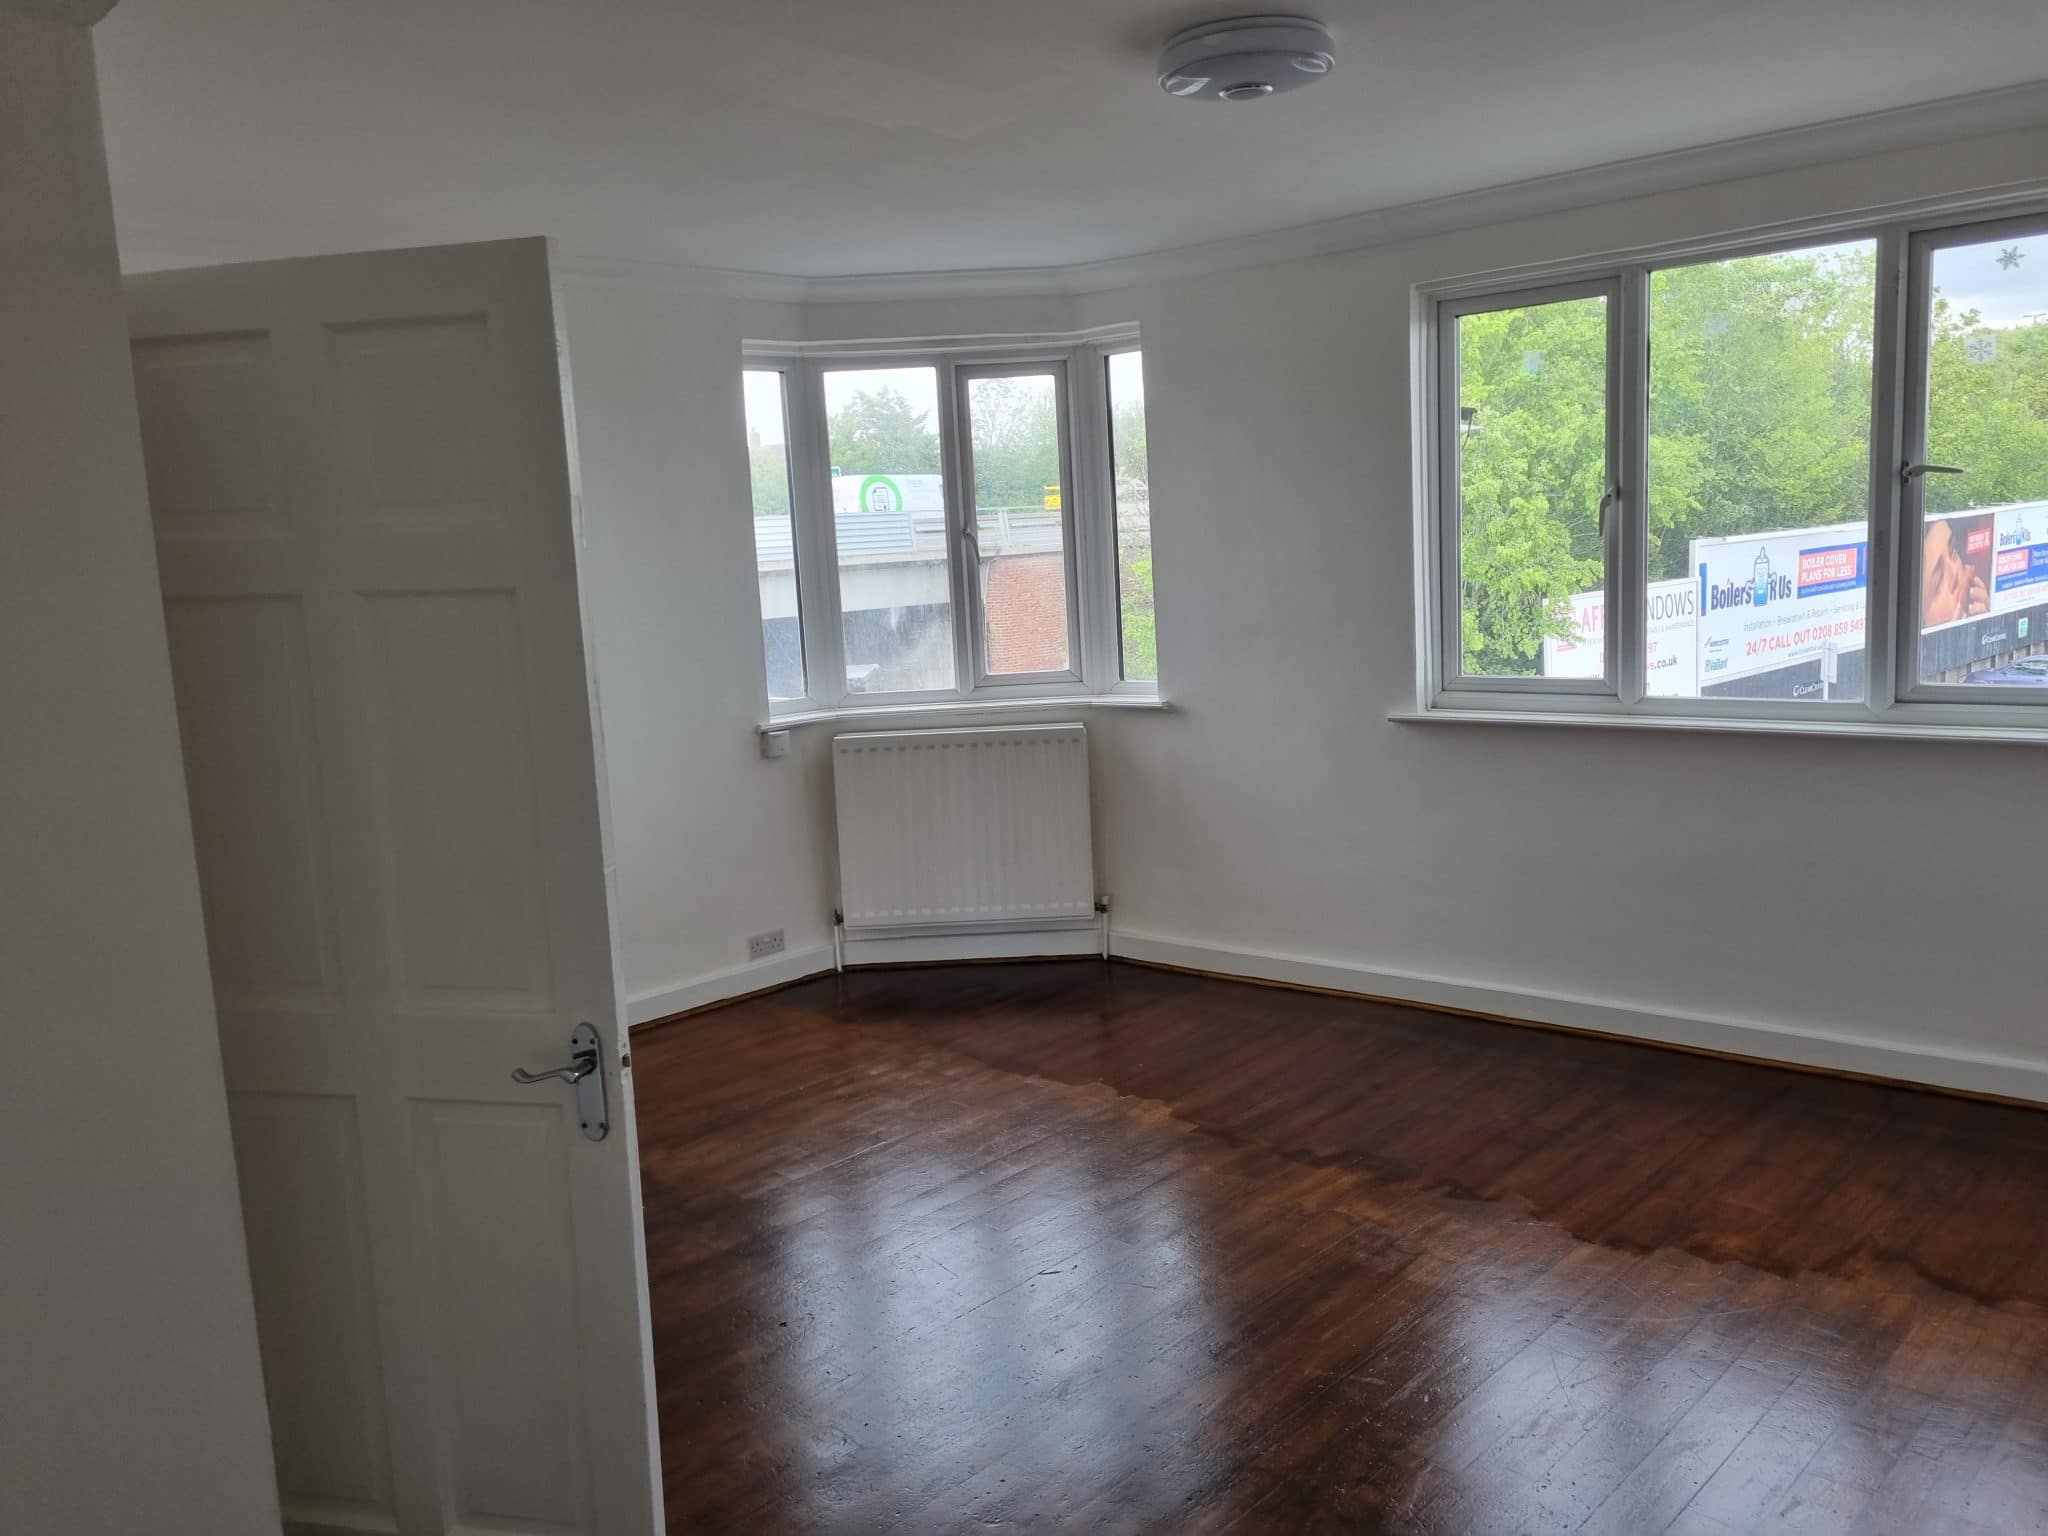
So where should you start when painting a room?
Painting a room might seem straightforward, but if you want a professional-looking finish, there’s a right way to do it. Over the years, I’ve seen people make common mistakes—dripping paint, uneven coverage, and missed spots—just because they didn’t have a solid plan before picking up a brush.
So, where should you start when painting a room? Whether you’re tackling a DIY project or considering hiring a decorator, understanding the correct order can save time, effort, and frustration.
Preparation is Key
Before you even think about opening a tin of paint, preparation is essential. Trust me, skipping this step will only lead to regrets later. Here’s what I always do before painting a room:
- Clear the space – Move furniture out of the way or cover it with dust sheets.
- Clean the walls – Dust, grease, and stains can stop paint from adhering properly. A simple sugar soap wash makes a big difference.
- Fill any cracks or holes – A quick bit of filler and sanding creates a smooth surface for painting.
- Mask edges and fixtures – Using painter’s tape around skirting boards, window frames, and sockets keeps everything neat.
If you’re painting a previously dark or bold-coloured wall, I’d also recommend applying a primer to create a neutral base. It helps achieve a clean, even finish with fewer coats.
What’s the Correct Order to Paint a Room?
1. Start with the Ceiling
I always begin with the ceiling. Painting overhead means there’s a high chance of drips landing on the walls, so tackling the ceiling first avoids having to redo areas later. Use a roller with an extension pole for large surfaces and a brush for cutting in around edges. If the ceiling needs two coats, let the first one dry completely before applying the second.
2. Move on to the Walls
Once the ceiling is dry, it’s time to tackle the walls. I usually cut in first—this means using a brush to paint around the edges, skirting boards, and corners before rolling the rest. Cutting in helps create crisp lines and avoids the roller leaving uneven edges.
After cutting in, grab a roller and start painting in a “W” or “M” motion. This technique spreads the paint evenly and prevents streaks. It’s best to work wall by wall rather than painting all the edges at once—this way, the cut-in sections blend seamlessly with the rolled areas.
3. Paint the Woodwork (Skirting, Doors, and Frames)
I always leave the skirting boards, door frames, and window sills until last. Gloss and satin paints used for woodwork take longer to dry, so if you do them earlier, you risk dust, dirt, or even a stray hair sticking to them while finishing the walls.
A good tip? Use low-tack painter’s tape along the walls to protect them from accidental brush strokes when painting skirting and frames.
4. Finishing Touches
Once everything is painted and dry, carefully remove any painter’s tape and check for touch-ups. This is where I always step back and inspect the room under different lighting—natural light can reveal uneven spots that weren’t visible earlier.
Common Mistakes to Avoid When Painting a Room
1. Not Allowing Enough Drying Time
It’s tempting to rush into a second coat, but patience pays off. Paint needs time to set, and applying another coat too soon can ruin the finish. I always check the paint tin for drying times and wait a little longer than recommended just to be safe.
2. Using the Wrong Tools
Cheap brushes shed bristles, and low-quality rollers leave streaks. Investing in good brushes, rollers, and a sturdy paint tray makes a noticeable difference. For larger rooms, I prefer a microfibre roller, as it holds more paint and spreads it smoothly.
3. Skipping Primer on Certain Walls
If the old colour is dark, bold, or has stains, a primer is a must. Otherwise, you’ll end up using far more paint than necessary, and the original colour may still show through.
4. Not Stirring the Paint Properly
You’d be surprised how many people forget this! Paint can settle over time, with pigments separating. A quick stir with a mixing stick ensures the colour applies evenly.
5. Painting in Poor Lighting
A dimly lit room can hide imperfections that only appear when the paint has dried. I always make sure I’ve got plenty of light, especially if painting in the evening. A simple work lamp helps highlight missed areas.
How Much Does It Cost to Paint a Room in the UK?
If you’re hiring a professional decorator, the cost depends on the room size, condition of the walls, and paint quality. According to Checkatrade, the average cost of painting a room in the UK is:
- Small room (10m²): £350 – £600
- Medium room (15m²): £450 – £800
- Large room (25m²+): £750 – £1,200
(Checkatrade – Painting Costs)
If you’re going the DIY route, expect to pay between £50 – £150 for paint, brushes, rollers, and other materials. While it’s cheaper, a professional decorator guarantees a high-quality finish with no hassle.
Is It Worth Hiring a Professional to Paint a Room?
If you have the time, patience, and confidence, DIY painting can be a rewarding project. However, if you want a flawless, long-lasting finish, hiring a professional decorator is often the better option.
At Pro Finish Decorators, we take the stress out of painting a room, ensuring smooth walls, clean lines, and a finish that lasts. Whether you need a single room refreshed or a full house makeover, we’re here to help.
If you’re thinking about painting a room and want professional results, contact us here for a free quote. We look after businesses and homes all across Kent, check out this blog on what to expect with decorators services.

